Contents
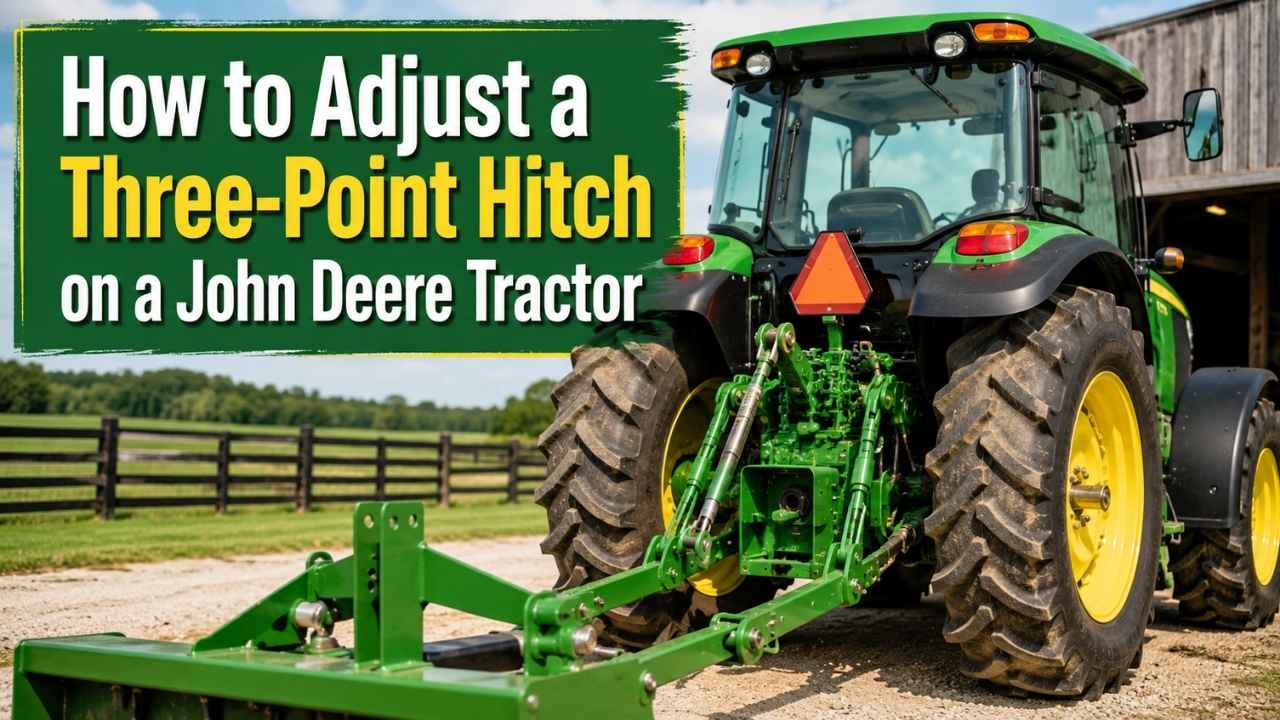
Adjusting a three point hitch on a John Deere tractor starts with three basic settings: level the implement side to side, set the front-to-back angle with the top link, and control side movement with the stabilizers or sway chains. If the hitch is not adjusted correctly, a box blade may cut unevenly, a rotary cutter may scalp the ground, or a rear implement may swing too much while driving.
The exact setup can vary by John Deere model, but the same basic adjustment steps apply to most compact, utility, and older farm tractors.
What Does a Three Point Hitch Adjustment Do?
A three point hitch connects the tractor to rear-mounted implements. On a John Deere tractor, it usually includes two lower lift arms, one top link, lift links, stabilizers, and hydraulic controls.
Each part affects how the implement works:
| Hitch Part | What It Adjusts |
|---|---|
| Top link | Front-to-back angle of the implement |
| Lower lift arms | Main attachment points |
| Leveling arm / lift link | Side-to-side leveling |
| Stabilizers or sway chains | Side-to-side movement |
| Position control lever | Working height |
| Rate-of-drop knob | How fast the hitch lowers |
| Draft control, if equipped | Hitch response under soil load |
Before making adjustments, park the tractor on level ground and lower the implement fully. Shut off the engine, set the parking brake, and never work under a raised attachment.
Step 1: Attach the Implement Correctly
Back the John Deere tractor up slowly until the lower lift arms line up with the implement pins. Connect the lower arms first, then attach the top link.
Make sure the hitch category matches the implement. Many compact John Deere tractors use a Category 1 three point hitch, while larger utility tractors may use Category 2. If the pins are loose, too small, or fitted with the wrong bushings, the implement may move too much or sit unevenly.
After connecting the implement, raise it slightly and check that nothing is binding.
Step 2: Level the Implement Side to Side
If one side of the implement sits lower than the other, adjust the leveling arm. On many John Deere tractors, the right-side lift link has a turnbuckle, crank, or threaded adjuster.
Turn the adjuster until both sides of the implement sit evenly on level ground.
This matters most for:
| Implement | Why Leveling Matters |
|---|---|
| Box blade | Prevents one side from cutting deeper |
| Rotary cutter | Helps avoid uneven mowing |
| Tiller | Keeps tilling depth consistent |
| Rear blade | Makes grading more predictable |
| Landscape rake | Keeps the rake from digging on one side |
A small side-to-side difference can make the implement perform badly, especially when grading or mowing.
Step 3: Adjust the Top Link
The top link controls the forward and backward tilt of the implement. This is one of the most important three point hitch adjustments.
Shortening or lengthening the top link changes how aggressively the implement contacts the ground.
| Implement | Top Link Setup |
|---|---|
| Box blade | Shorter top link makes the front blade bite harder; longer top link makes it smoother |
| Rotary cutter | Usually set so the front is slightly lower than the rear |
| Rear blade | Adjust to change the cutting angle |
| Tiller | Keep close to level for even tilling |
| Post hole digger | Follow the implement manual carefully |
For a box blade, shorten the top link if you want more cutting action. Lengthen it if you want the blade to float and smooth the surface more gently.
For a rotary cutter, the front of the deck is often set slightly lower than the rear. This helps the blades cut material once instead of recutting it repeatedly.
Step 4: Adjust the Stabilizers or Sway Chains
The implement should not swing too far from side to side. Adjust the stabilizers, telescoping sway links, or sway chains so the implement has controlled movement.
Too much sway can cause the implement to hit the rear tires, damage the hitch arms, or make the tractor harder to control. But making the stabilizers too tight can also cause binding, especially when turning or working on uneven ground.
A good setup allows a little movement but keeps the implement centered behind the tractor.
Step 5: Set the Working Height
Use the position control lever to raise or lower the three point hitch to the working height you need. Move the lever slowly and make small adjustments.
If your John Deere tractor has a lever stop, set it after you find the correct height. This lets you return to the same working position more easily.
Working height depends on the implement:
| Implement | Basic Height Setting |
|---|---|
| Rotary cutter | Set with hitch and tail wheel |
| Box blade | Lower until cutting edge works correctly |
| Rear blade | Adjust for cutting or smoothing |
| Ballast box | Raise high enough for clearance |
| Tiller | Lower until it reaches desired tilling depth |
Always test the implement at low speed before working normally.
Step 6: Check the Rate-of-Drop Knob
Many John Deere tractors have a rate-of-drop knob under or near the seat. This knob controls how fast the three point hitch lowers.
If the hitch raises but will not lower, the knob may be closed too far. Turn it gradually and test the hitch again.
Do not force the control lever if the hitch will not lower. Check the rate-of-drop knob first.
Step 7: Use Draft Control Only When Needed
Some John Deere tractors have draft control. Draft control is mainly for ground-engaging implements such as plows or subsoilers. It allows the hitch to react to soil resistance.
For most common jobs, position control is the better choice.
| Use Position Control For | Use Draft Control For |
|---|---|
| Rotary cutter | Moldboard plow |
| Box blade | Chisel plow |
| Rear blade | Subsoiler |
| Ballast box | Heavy ground-engaging tools |
| Tiller | Some soil-working applications |
If you are mowing, grading, carrying ballast, or using a rear blade, keep the tractor in position control unless your manual says otherwise.
Common John Deere Three Point Hitch Problems
| Problem | Likely Adjustment |
|---|---|
| Implement sits crooked | Adjust the leveling arm |
| Implement digs too deep | Adjust top link or raise hitch slightly |
| Implement swings side to side | Tighten stabilizers or sway chains |
| Hitch will not lower | Check rate-of-drop knob |
| Box blade cuts too aggressively | Lengthen the top link slightly |
| Rotary cutter scalps the ground | Raise hitch, adjust tail wheel, check top link |
| PTO shaft angle looks too sharp | Adjust hitch height and check shaft length |
| Implement hits rear tires | Adjust stabilizers and hitch position |
Best Adjustment for a Box Blade
For a box blade, start with the implement level side to side. Then adjust the top link based on the job.
If you want the blade to cut more, shorten the top link. If you want it to smooth and spread material, lengthen the top link slightly. Make small changes and test after each adjustment.
Best Adjustment for a Rotary Cutter
For a rotary cutter, level the deck side to side first. Then set the front of the cutter slightly lower than the rear. This helps reduce drag and gives a cleaner cut.
Also check the tail wheel height. The three point hitch should not carry the full weight of the cutter while mowing. The tail wheel helps control cutting height.
Best Adjustment for a Rear Blade
For a rear blade, level the blade side to side unless you are intentionally cutting a ditch or crown. Adjust the top link to change how aggressively the cutting edge bites into the ground.
A shorter top link usually makes the blade more aggressive. A longer top link can make it smoother for light grading.
Safety Tips Before Using the Hitch
Before operating the tractor, check that all pins, clips, and lynch pins are secure. Raise the implement slowly and watch for binding. Make sure the PTO shaft, if used, has enough clearance and is not too short or too long.
Never stand between the tractor and implement while someone else is moving the tractor or operating the hydraulic controls.
To adjust a three point hitch on a John Deere tractor, connect the implement safely, level it side to side with the lift link, set the front-to-back angle with the top link, control side movement with the stabilizers or sway chains, and use the position control lever to set the working height. If the hitch will not lower, check the rate-of-drop knob before assuming there is a hydraulic problem.
The best adjustment depends on the implement. A box blade, rotary cutter, tiller, rear blade, and plow all need slightly different settings. Start on level ground, make small changes, and test the implement slowly before doing the full job.